A guided tour of everything Venom Board does, recorded in the real app, followed by workflows that put it together. Every feature here is free, in the browser and on desktop.
Everything on a board is a card, a picture, a note or a phase, and arrows between cards say what waits on what. You can plan a whole feature in a minute without touching a menu.
Double-click empty space to make a card and type its title. Enter finishes.
Press Tab for the next task: it appears to the right, already connected.
Pick a status, card type, discipline, priority, estimate or due date from the toolbar under a selected card.
Drag from the dot on a card's right edge into empty space and choose what comes next, Blueprint-style.
Shortcuts: N card, T text, F phase, A connector, ? for the full list.
Double-click, type, Tab, Tab. Three connected tasks in seconds.
2 · References
A reference board, like PureRef
Concept art, screenshots and mood references live next to the work they inspire. Paste them, mark them up, crop them and pull colours from them.
Paste with Ctrl+V or drag pictures, GIFs and videos in. YouTube and Vimeo links become players.
Select a picture and choose Crop, then drag the frame. Enter applies, Esc cancels. Rotate turns it a quarter at a time.
Press K, hover to see each colour's hex code and click to copy it. It becomes your marker, text and card colour.
Extract palette lays the picture's main colours out as swatches under it.
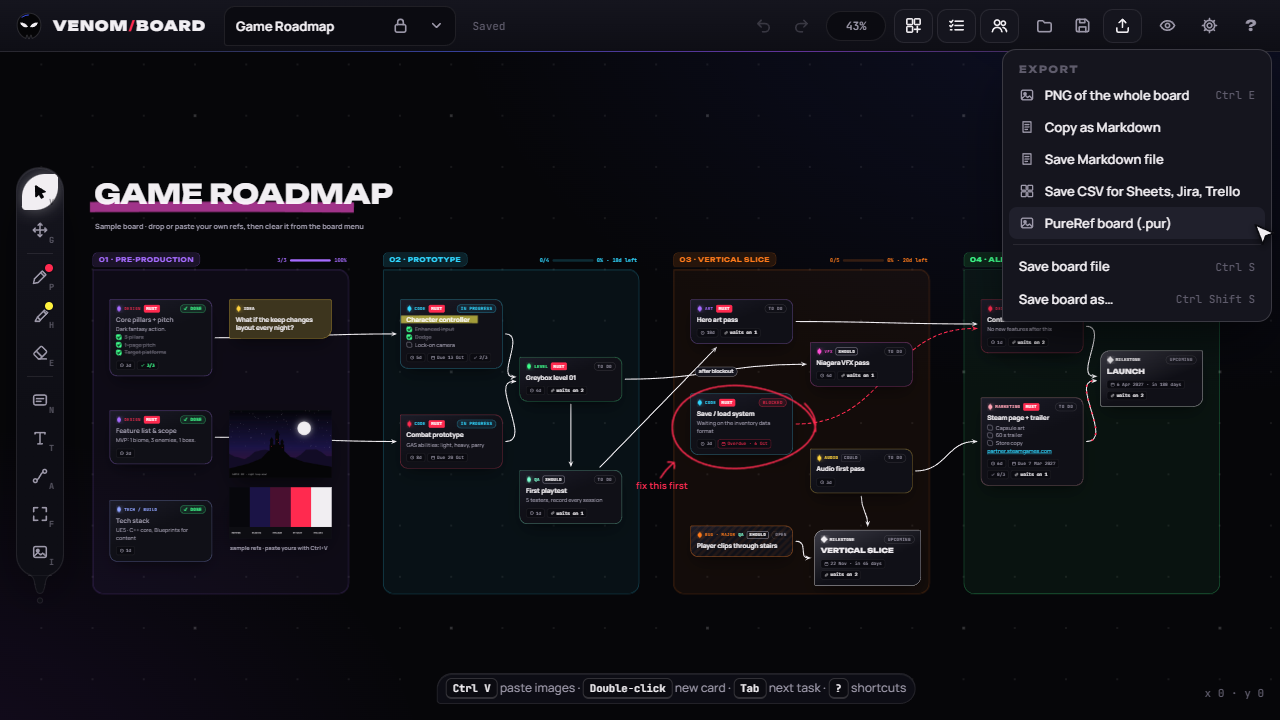
Boards menu → Import from PureRef, Trello, Jira or CSV… (or drop the .pur file on the board) and every picture lands where it was. Export → PureRef board takes it back.
Crop, rotate, pick the moon's colour with K, then pull out a six-colour palette.A PureRef moodboard imported onto an empty board: eight pictures, laid out as they were.
3 · Planning
Dependencies and the schedule
Arrows aren't decoration: they drive the schedule. Venom Board works out what's blocked, what you can start today, and the chain of tasks that decides your finish date.
Cards show "waits on N" while something before them is unfinished. The Planner's Ready to start filter lists what you can pick up now.
Select a card and use Trace to light up everything it depends on and everything that depends on it.
Open the Timeline with Shift+G: every task in working days, with the critical path highlighted.
Drag the end of a bar to change its estimate, or a milestone to move its date, and watch the plan move.
Trace a card's chain, then stretch its estimate in the Timeline: the cards after it move and the finish slips three days.
4 · Views
Kanban and Calendar
Same cards, different questions. Kanban answers "what's everyone doing?", the Calendar answers "what's due when?", and both change the board as you drag.
Shift+K opens Kanban: columns for To do, In progress, Blocked and Done, with filters for phase, discipline and people.
Drag a card to another column to change its status.
Shift+C opens the Calendar. Drag a card to another day to change its due date, or from No due date to give it one.
Click any card to jump to it on the board.
Drag a card into In progress on the Kanban, then give it a due date on the Calendar.
5 · Organise
Tidy wiring
Big boards get noodly. Borrowing from Unreal's Blueprint editor and the Electric Nodes plugin, you can keep every wire readable.
Right-click the board → Style every connector… → Circuit for straight runs with 45° bends.
Right-click a finished phase's title → Collapse phase to fold it to a bar ("3 cards · 3 done"). Wires attach to the bar.
Right-click the board → Tidy layout lines cards up left to right by what they wait on, with fewer crossings.
Right-click a wire → Add a reroute point here, then drag the point. Points snap into line with their neighbours. Tidy first: it resets the wires of the cards it moves.
Circuit wires, a collapsed phase, Tidy layout, then a reroute point to run a wire clear of a card.
6 · Team planning
Sprints and time tracking
Turn any phase into a sprint and see whether the work fits the people and days you have, and how fast you really go.
Right-click a phase title → Make this a sprint…, pick a length and enter each teammate's capacity in days.
Start a timer from a card's toolbar. The chip in the top bar counts until you click it to stop.
Cards show tracked time against the estimate, amber when over.
The Planner's sprint section shows work left against capacity left, each person's load (amber when someone's over) and your velocity over the last sprints.
Tag cards and save the Planner filters you use most.
Prototype becomes a two-week sprint with capacity for Kora, Nyx and Viper. A timer starts, and the Planner says on track, with Kora a day over.
7 · Teams
Working together, live
Share a board with your team and everyone edits the same board at once: cards, wires, pictures, ink and typing appear the moment they happen.
Make a free account, create a team and invite people by username or email.
In the Team panel, Share this board turns any board into a team project.
See teammates' avatars, cursors and selections. Click an avatar to follow their view.
Assign cards to people; they get a notification and see them under Mine.
Nyx adds a card on the board Viper has open. It appears as Nyx types, and Viper assigns it to Nyx.
8 · Reviews
Comments, threads and feedback pins
Talk about the work where the work is. Threads keep conversations together, and pins point at the exact spot on a picture.
Open a card's comments, write, and @mention a teammate to notify them. Ctrl+Enter sends.
Reply to a comment, react with an emoji, and resolve the thread when it's handled.
On a picture, choose Add feedback pin and click a spot to start a numbered thread there.
Pins follow the picture as it moves, resizes, crops or turns, and fade once resolved.
Mention Nyx, get a reply live, react with 🎉 and resolve the thread. Kora's thread stays open.Pin 1 on the towers gets a reply, then Nyx drops pin 2 on the moon. Each pin has its own thread.
9 · Integrations
Roles, GitHub, GitLab and Slack
Fit the board into how your team already works: the right access for each person, and your repository and chat talking to your cards.
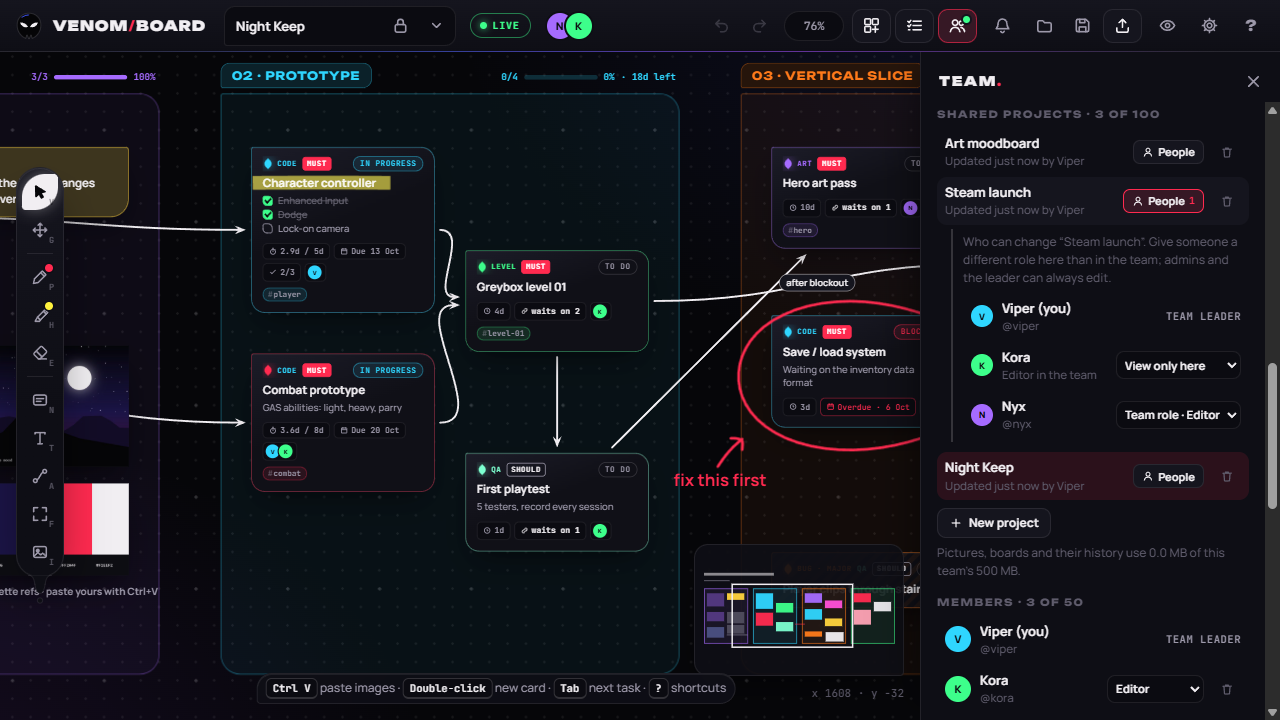
Team roles are leader, admin, editor and viewer. A project's People control gives someone a different role there.
Right-click a card → Copy reference to get its VB- code.
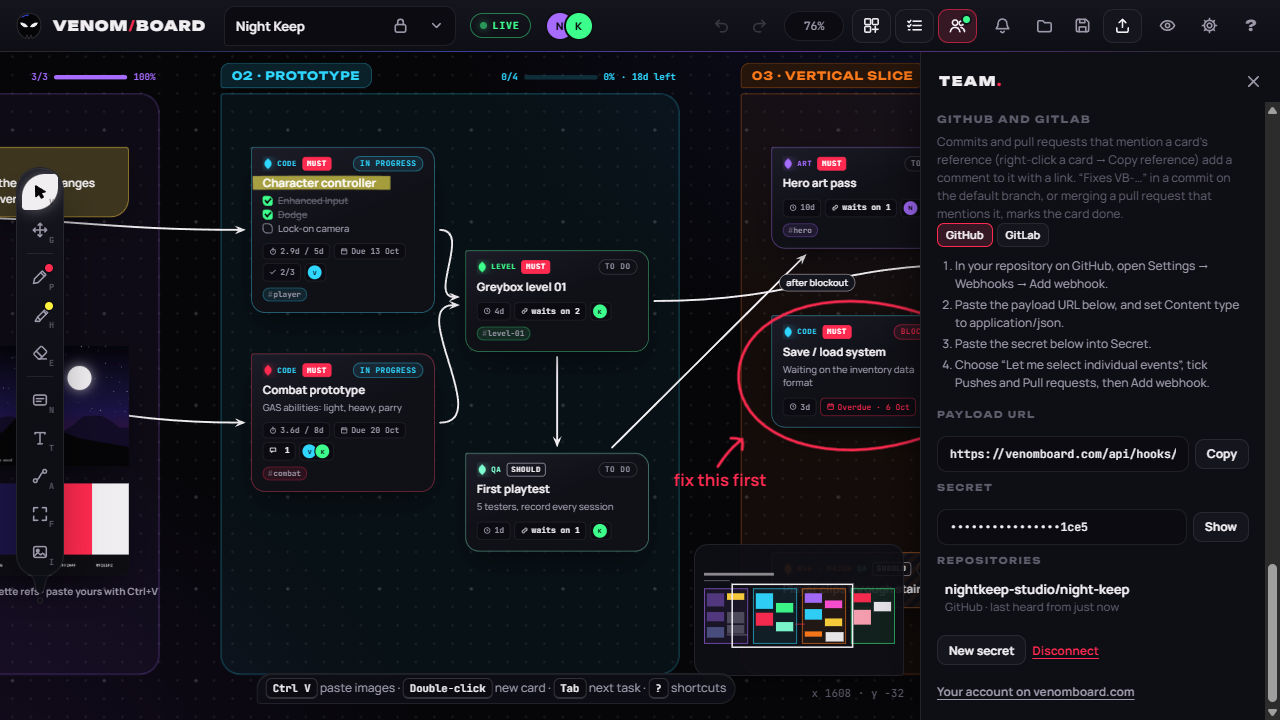
Connect a GitHub or GitLab repository from the Team panel with a webhook: four steps, a payload URL and a secret. Mention a card's reference in a commit or pull request and it comments on the card; "fixes VB-…" finishes it.
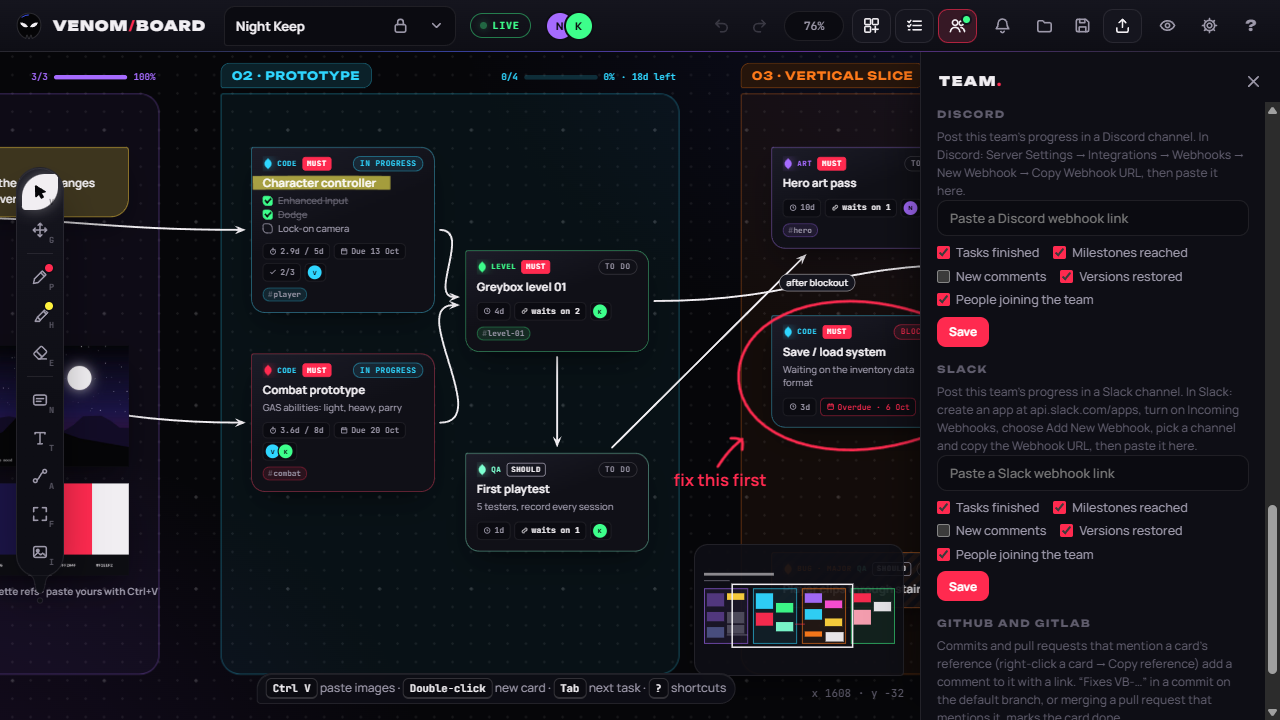
Paste a Discord or Slack webhook and pick what to post: finished tasks, milestones, comments, restored versions, new teammates.
Copy the card's reference, push a commit that says "fixes VB-…", and the card finishes itself live with the commit in its thread.Connecting a repository in the Team panel.Choose what goes to Discord or Slack.Kora edits everywhere else in the team but only views the Steam launch project.
10 · Players
Bring your players in
Playtest feedback and bug reports shouldn't live in spreadsheets and DMs. Send them straight to the board, and show players where you're headed.
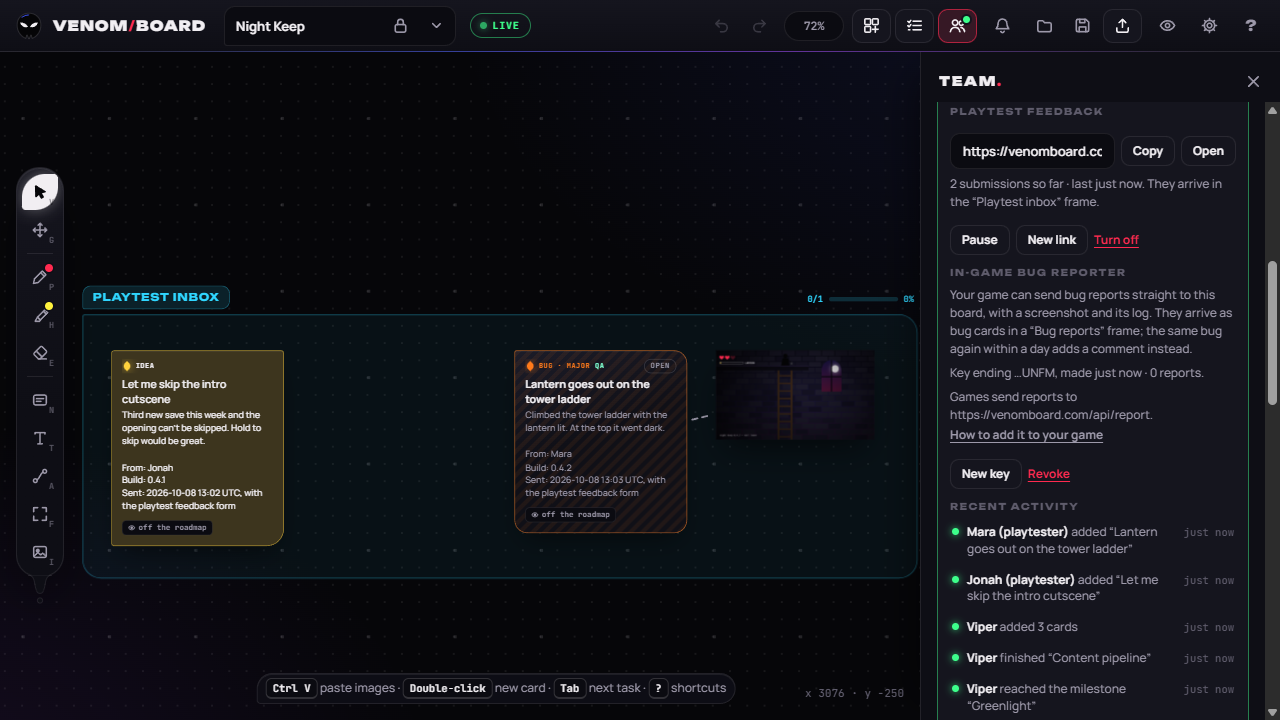
In the Team panel, turn on Playtest feedback and share its link. Pause it, make a new link or turn it off at any time.
Playtesters pick Bug, Idea or Something else, describe it and can attach a screenshot. They don't need an account.
Each submission lands live as a card in a Playtest inbox frame, with the screenshot joined to it.
Make a report key in the same panel and your game can send bug reports with its version, platform, log and a screenshot. The same bug again adds a comment instead of a new card.
Publish a public roadmap: milestones with dates, and Ideas, Planned, In progress and Done that players can vote on and follow by RSS.
The Team panel: the feedback form's link, the bug reporter's key and recent activity.A playtester reports a bug with a screenshot, no account needed……and it lands in the Playtest inbox as a card, live, screenshot attached.The game sends a crash with its log and screenshot. When it happens again on a Steam Deck, it adds a comment instead of a duplicate card.The public roadmap: milestones, what's planned and done, and a vote for New Game+.
11 · Get going fast
Game jams and templates
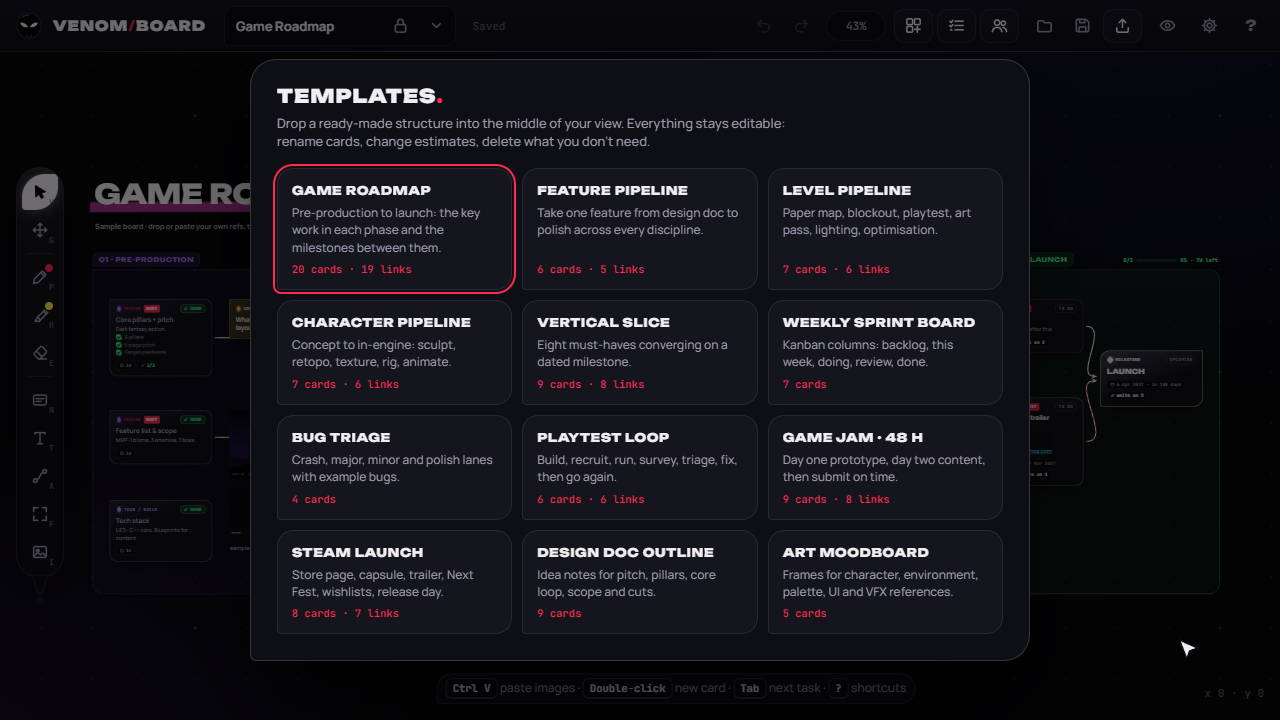
Twelve templates give you a head start, and the jam clock keeps a 48-hour jam honest.
Open Templates and pick one: game roadmap, sprint board, bug triage, Steam launch, art moodboard and more.
The game jam template comes with a clock: the deadline counts down on the board and in the top bar.
The scope check compares the work left with the time you have. Cut scope marks the lowest-priority work Won't until it fits.
The jam clock counts down and the scope check says the Could work won't fit. Cut scope marks two cards Won't and the jam is back on track.The template gallery.
12 · Beyond the board
Connected tools and game engines
Your tasks can come to you: into your engine, your calendar and the tools you already use.
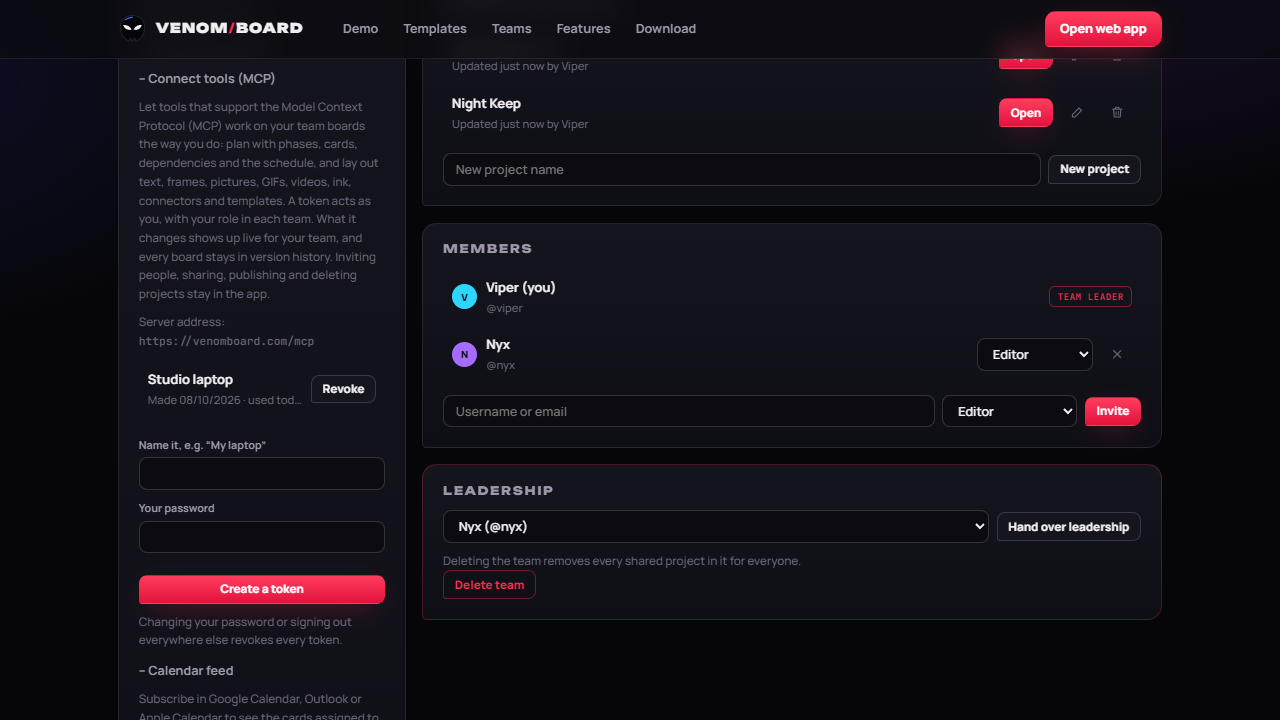
On your account page, make an access token under Connect tools (MCP). Tools that support the Model Context Protocol can then plan and lay out your team boards, as you, with your role.
Turn on the calendar feed to see your due dates and milestones in Google Calendar, Outlook or Apple Calendar.
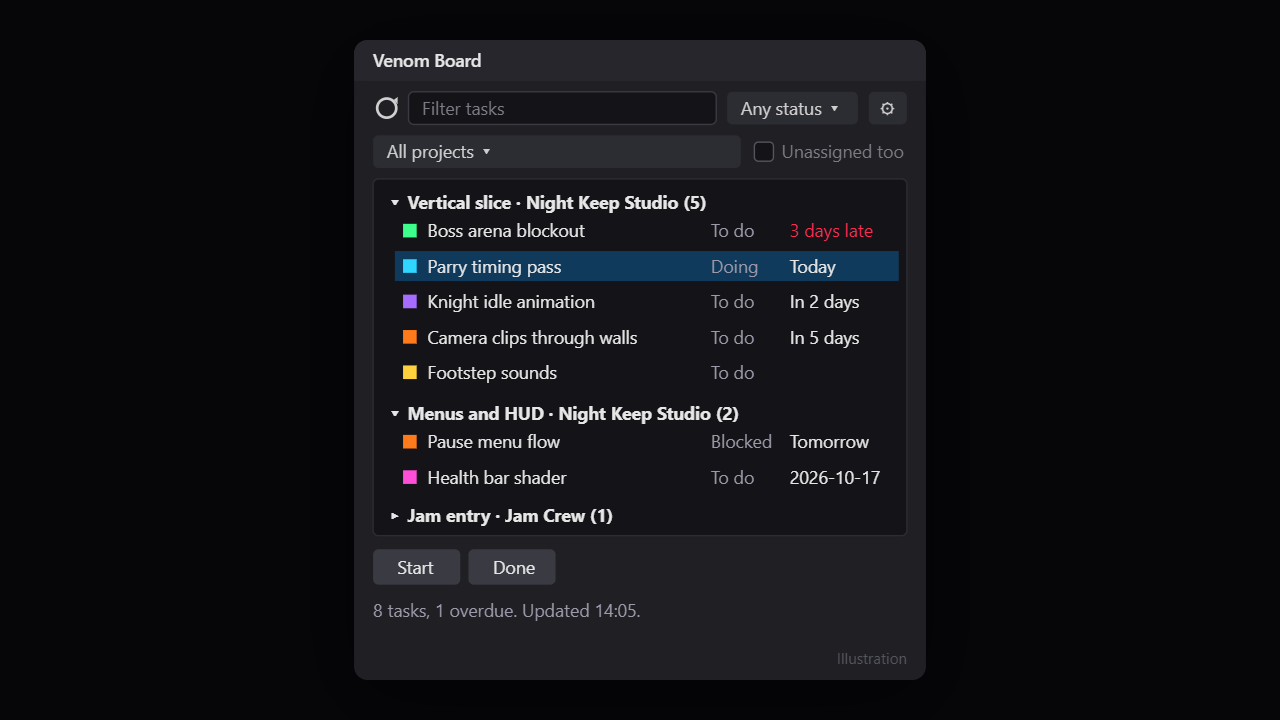
Install the panel for Unreal Engine, Unity or Godot (Unity and Godot are in preview) to filter your tasks and start or finish them inside the editor.
A connected tool plans Act 2 while you watch: three phases, cards with estimates and dependencies, a milestone, then circuit wiring.Your account page: tool tokens beside your team's members and roles. The calendar feed is just below.The engine panel: your tasks across projects, with Start and Done (illustration).
13 · Desktop
The desktop app and exports
On Windows, macOS and Linux the board can float over your engine, and everything can leave as a picture, a PureRef board, Markdown, CSV or a timelapse video.
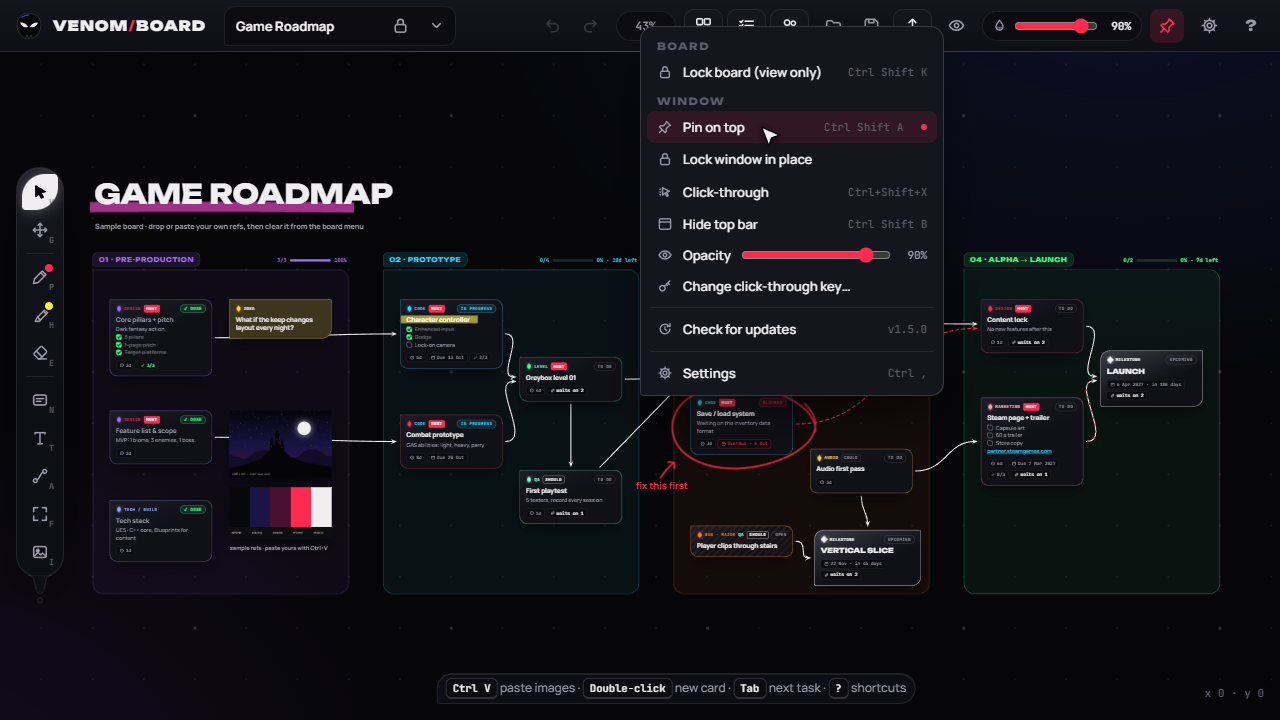
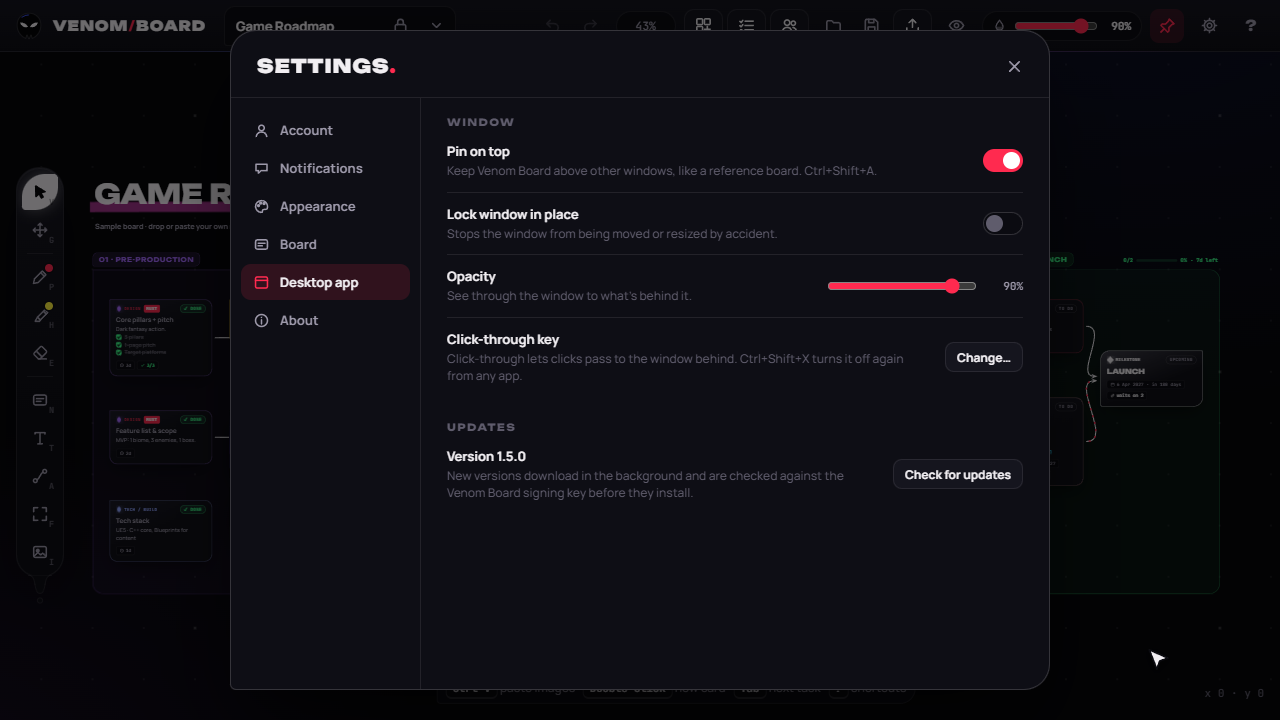
Right-click the top bar for the window menu: Pin on top (Ctrl+Shift+A), Lock window in place and Opacity.
Switch on click-through so clicks pass to your engine underneath. Ctrl+Shift+X turns it off again from any app.
Export → PNG, Markdown, CSV for Sheets, Jira or Trello, or a PureRef board. Right-click a selection to export just that.
Boards menu → Make a timelapse… turns a board's history into a video for #screenshotsaturday.
The window menu, pinned on top at 90% opacity.The same controls in Settings → Desktop app.Every way out of the board.
Workflows
How teams string the features together. Each one links back to the chapters it uses.
Solo developer or a small team
Plan a vertical slice in an afternoon
You have six weeks to a playable slice. Start from structure, let the arrows do the scheduling, and find out today whether it fits.
Open the Vertical slice or Game roadmap template.
Rename the cards to your features and give each an estimate (4h, 2d, 1w).
Connect what waits on what with Tab or by dragging from card pins.
Open the Timeline (Shift+G). The critical path is the chain to protect; drag bars to try what-ifs.
Too long? Set MoSCoW priorities and move Won't cards out, or ask Cut scope on a jam board.
References and work in progress sit on one board, feedback lands on the exact pixel, and the next version replaces the last without losing the conversation.
Start from the Art moodboard template and paste references into each phase.
Crop to what matters and extract palettes so everyone works from the same colours.
Artists paste their work in progress; the lead drops numbered feedback pins.
Artists reply in each pin's thread and resolve it when the change is in.
Right-click the picture → Replace with the new version: same place, same pins, same thread.